I started to write about comparing Lightroom and Photoshop last year, but that turned into this post. I have been using Capture 1 Pro 7, and now version 8, as my default raw editor for exporting tiffs to Photoshop for final editing and output for the past year+ and haven't looked back. Until now... Adobe recently updated the Adobe Camera Raw processing engine and it is now included with the new Lightroom CC, and I was asked about testing how the Leica M Monochrome would benefit from Capture 1 compared to Lightroom CC or Adobe Camera Raw 9. Honestly, the differences between C1 and the new ACR are still astounding.
Adobe Camera Raw on left and Capture 1 Pro 8 on right at 100% pixel view
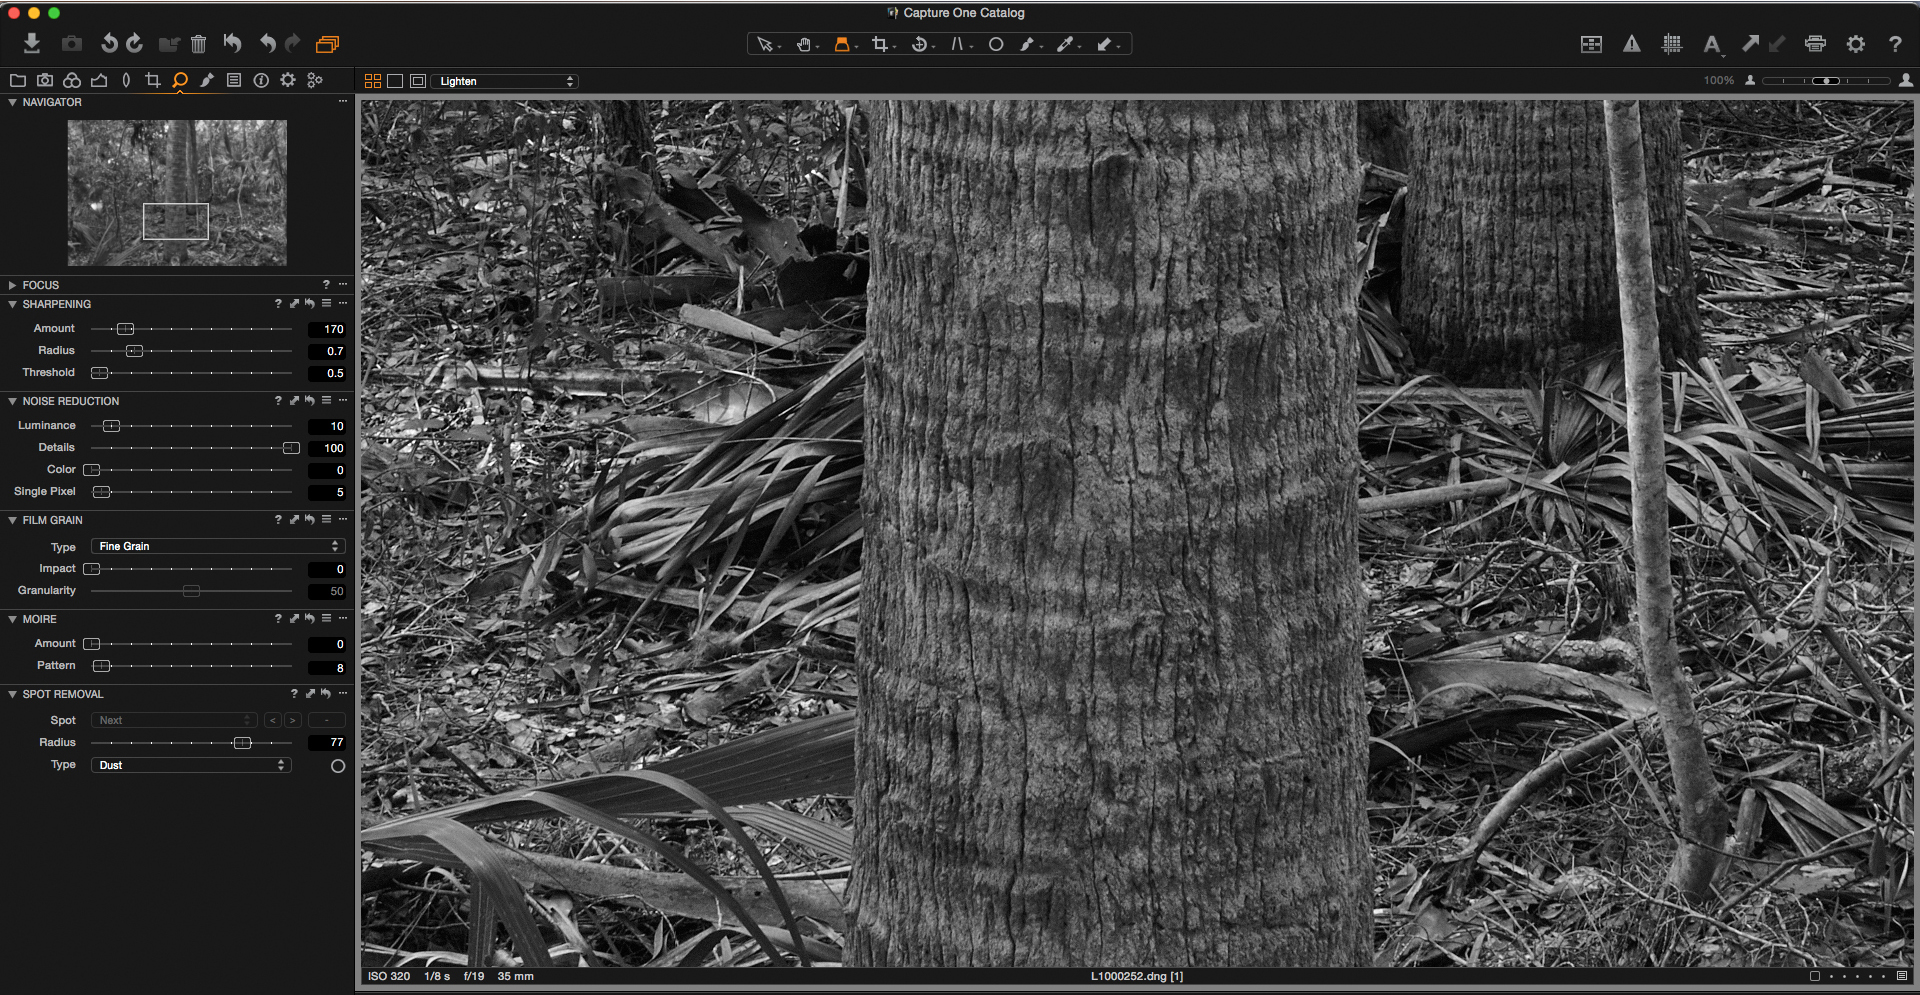
The above screenshot may make this blatantly obvious, but I will point out some areas where some subtle details benefit from the Capture 1 engine. There is something about the rendering of fine details and midtone separation that is so much better in C1, and it takes much less sharpening and clarity enhancement to achieve a perfectly sharp and smooth image. I would even say that it is sometime TOO much sharpness, and there is very little final sharpening that needs to be done in Photoshop.
Here are some other screen shots with the detail and sharpening settings in both Capture 1 and Adobe Camera Raw. My personal sharpening settings are generally lower than the Capture 1 defaults, with only a small amount of Clarity and Structure in the detail settings. To arrive at comparable looking image in ACR, the clarity is cranked up to 64, and the sharpening and detail is much higher than the default of 25.
The benefits of Capture 1 are not all about sharpness and fine detail. The ability to select processing curve options allows you to create an initial tonal range that is tailored to the type of image and desired final outcome. Adobe Camera Raw has one default curve and all global tonal edits are done though the settings for exposure, contrast, highlights, etc.
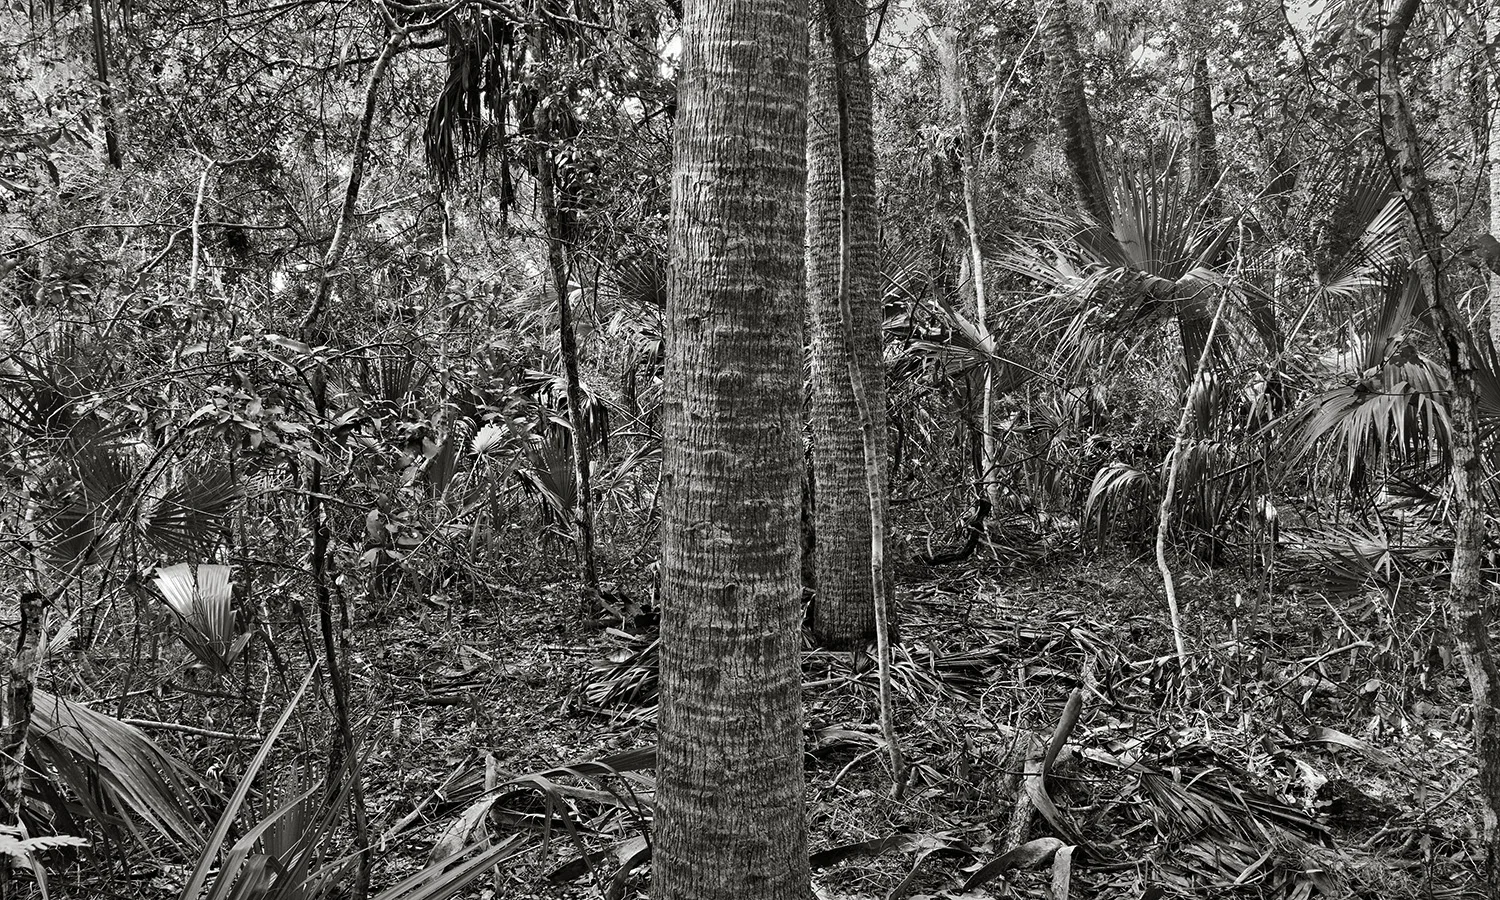
Washington Oaks, Florida 2013
Final edited version with warm-toned ink simulation
About this Photograph
This was made during a private Digital Black and White Crash Course workshop near Daytona Beach, Florida with the student's Leica M Monochrome camera. The challenge was to see how much of the fine detail could be retained in the harsh lighting conditions, while still being able to make a coherent picture from the extremely dense and chaotic scene.
Be sure to read the next post, also working with the same image, to learn how to further enhance the detail from your photographs with some additional Photoshop Unsharp Mask techniques. Read to the end for a new special offer on photographs from select blog posts.


