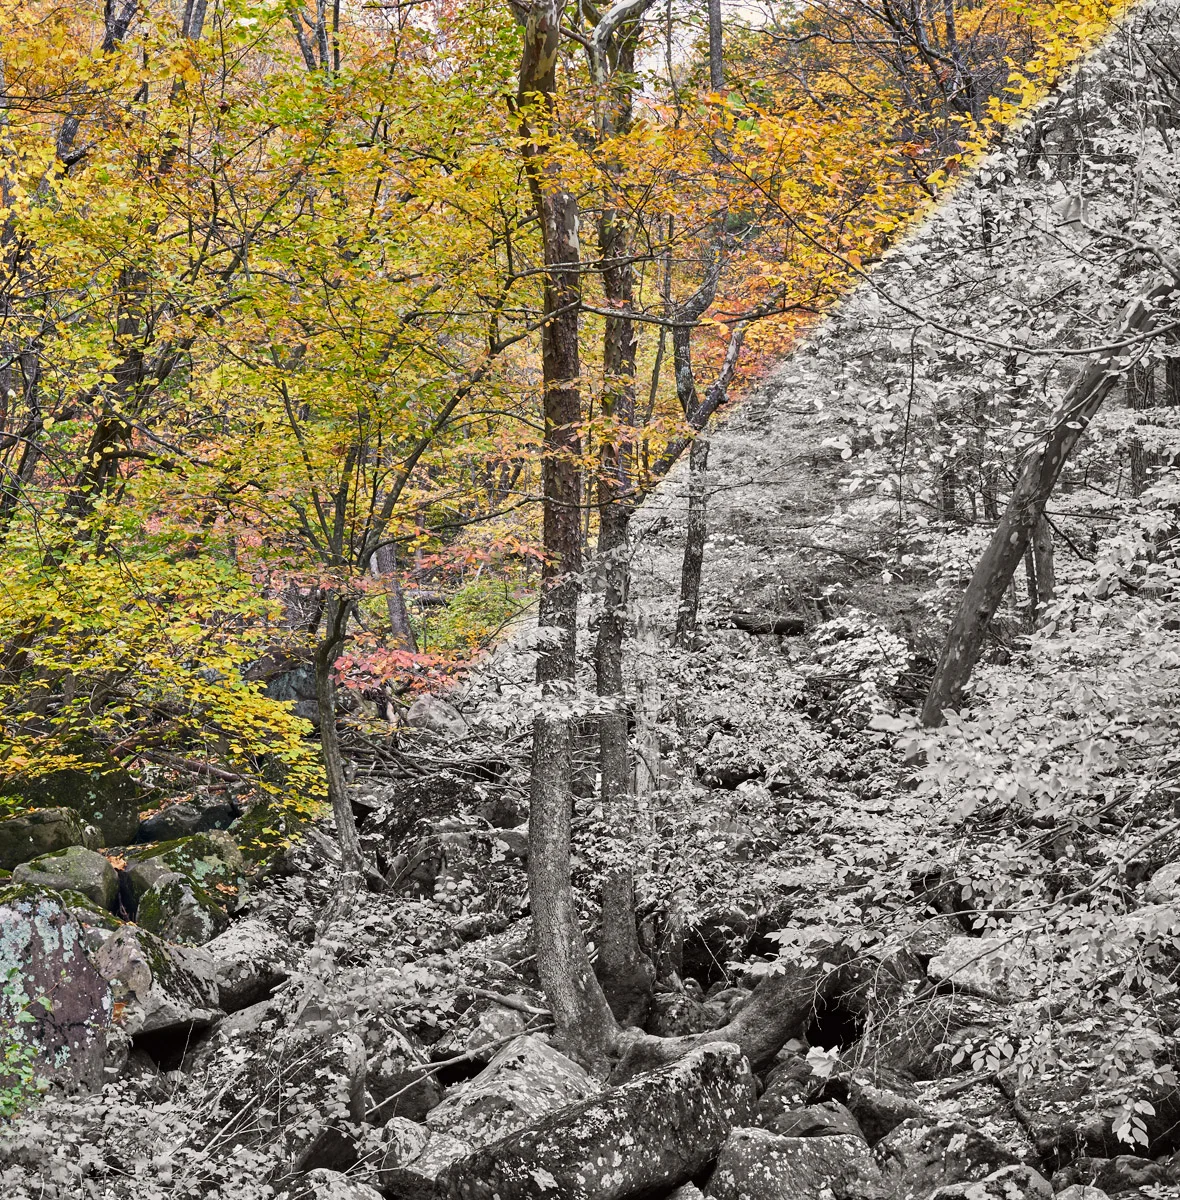
Making digital black and white conversions is easier with a little understanding of how color has historically been recorded and manipulated with film and filters.
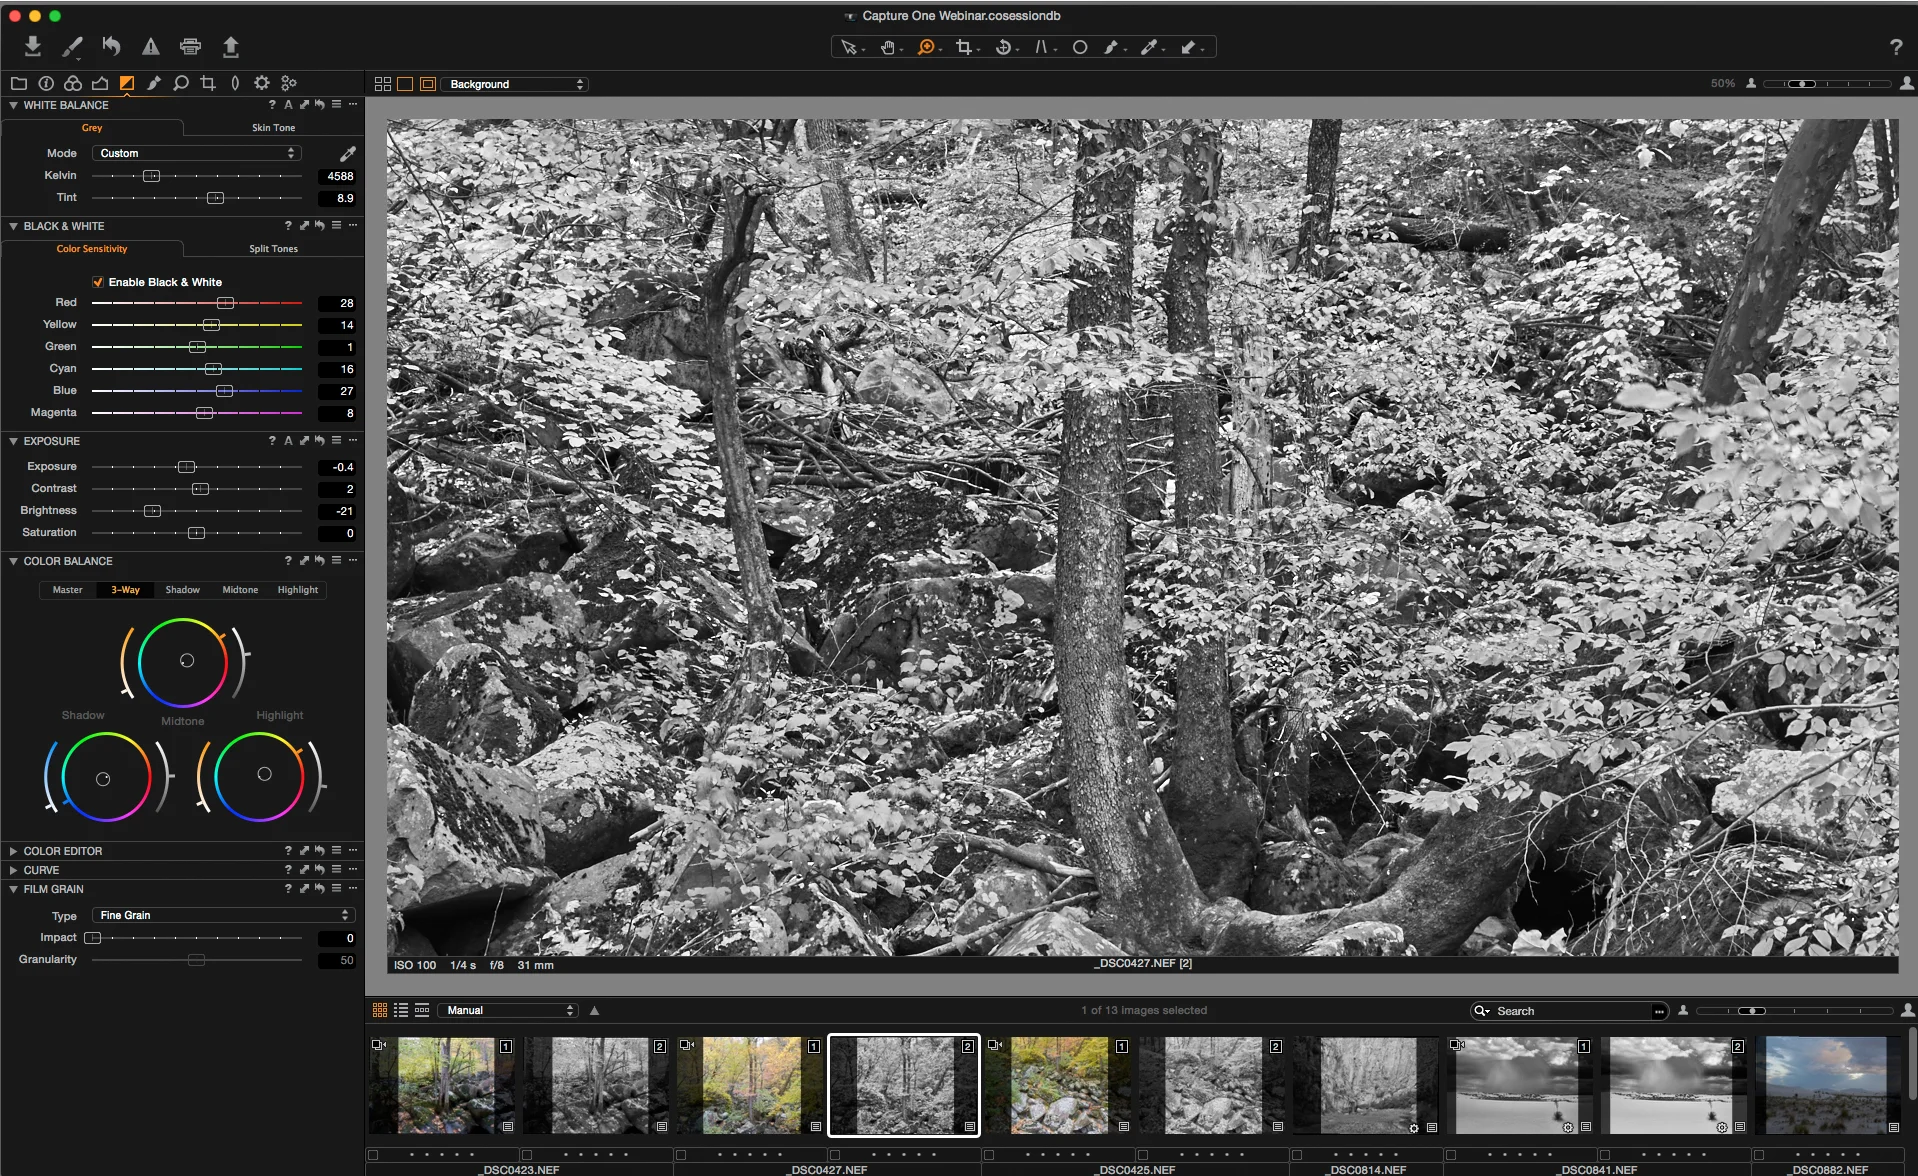
Black and White with Capture One Pro 8 - Part 2: Workflows
Black and White with Capture 1 Pro - Part 1: Custom Workspaces
Capture One, Silver Efex, and Photoshop
Working With Multiple Virtual Copies
I woke up to a foggy morning today so I made a french press, grabbed the dog and camera, and hit the woods.
When I got back to download the pictures I made and started editing the images I thought it would be a good opportunity to demonstrate how you can export multiple virtual copies of the same raw file with different contrast and black and white filtration settings from Lightroom. This is to allow you to finely tune to image in photoshop with greater flexibility and less reliance on multiple and possible conflicting adjustment layers.
Since you are also working with image layers made from adjustments to the raw file the tonal range is smoother than if additional adjustment layers were made to a single file with general Lightroom/Camera Raw development settings.
Here is the scene as shot and cropped to a 1:2 aspect ratio.
In the first virtual copy, I got the overall exposure and contrast curve where I wanted—no clipping and a full range of tones. The intention was to keep this version of the image on the flat side as a base to build more contrast in Photoshop.
Virtual copy of the color version with auto black and white settings and slight increase in contrast.
I then created another virtual copy with an exaggerated yellow/yellow green filtration and increased contrast. This blows out some of the highlights in the foggy areas, which I will mask out in photoshop (I still find that it is much easier and faster to this masking in Photoshop rather than using the brush adjustments in Lightroom).
Virtual copy-2 with exaggerated yellow/green filtration and increased contrast.
Then I export those two above copies as 16-bit tiffs and then stack the contrasty version on top of the version with less contrast. I can then create a layer mask to paint in the areas where I want the yellow/green filtration version to come through. In the case above it contrast was built up with an inverted layer mask and painting with a white brush at a low opacity/fill amount to reveal differing amounts of the layer. Then I used my standard approach of burning and dodging adjustment layers to achieve the final tonal and structural balance.
Then I export those two above copies as 16-bit tiffs and then stack the contrasty version on top of the version with less contrast. I can then create a layer mask to paint in the areas where I want the yellow/green filtration version to come through. In the case above it contrast was built up with an inverted layer mask and painting with a white brush at a low opacity/fill amount to reveal differing amounts of the layer. Then I used my standard approach of burning and dodging adjustment layers to achieve the final tonal and structural balance.
Final Version
This is a variation of the same technique with even more yellow/green filtration and increased contrast. This is just to illustrate the importance of not relying on presets and plug-ins for making the initial black and white conversion and contrast adjustments.
The scene as shot
Neutral Black and White Conversion
Exaggerated yellow/green filtration and greatly increased contrast.
The final version below incorporated the lower two virtual copies on the left as well as additional curves adjustments layers, which were set to different blend modes to further separate out some of the more subtle tones. I will go more into blend modes and which ones work best in certain situations in a future post.
Final Version


